GitLab CI Part 3
In Part 1, I illustrate how to setup a basic runner that will run ci/cd job. In part 2, I will go over the gitlab-ci.yml settings with some examples to give a better understanding of how to setup own own jobs pipeline.
Environment(2017-12):
-
GitLab server
GitLab 10.1.4 GitLab Shell 5.9.3 GitLab Workhorse v3.2.0 GitLab API v4 Gitaly 0.43.1 Git 2.13.6 Ruby 2.3.5p376 Rails 4.2.8 postgresql 9.6.5 -
Runner os version
System Version: macOS 10.13.2 (17C88) Kernel Version: Darwin 17.3.0 -
GitLab runner(after installation)
Version:      10.2.0
Git revision: 0a75cdd1
Git branch:   10-2-stable
GO version:   go1.8.3
Built:        Wed, 22 Nov 2017 09:20:25 +0000
OS/Arch:      darwin/amd64
Setup
-
Download the binary (currently
brew installis not supported yet)sudo curl --output /usr/local/bin/gitlab-runner \ https://gitlab-runner-downloads.s3.amazonaws.com/latest/binaries/gitlab-runner-darwin-amd64 -
Give it permissions to execute:
sudo chmod +x /usr/local/bin/gitlab-runner -
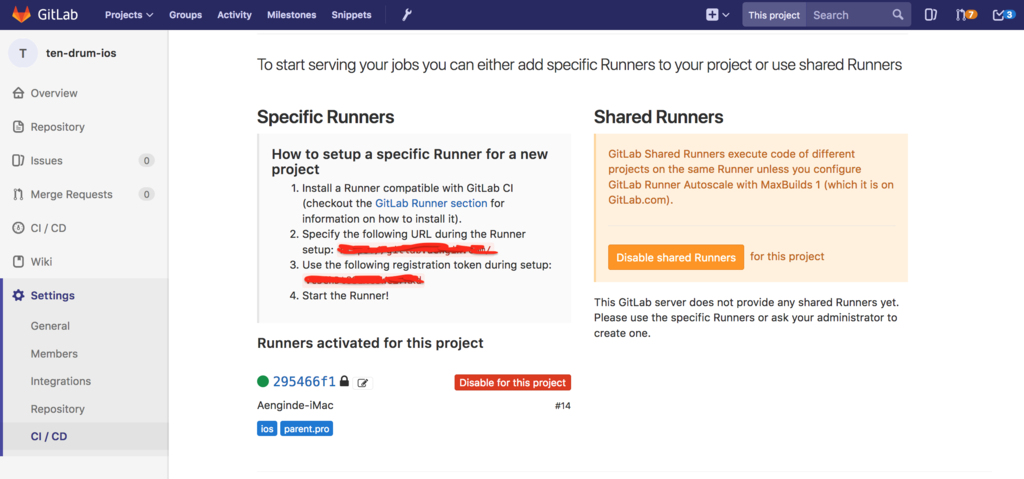
Regarding
GitLab instance URLandregistration token, you can find them atSettings > CI / CD > Runner settings
-
Install the Runner as service and start it:
cd ~
gitlab-runner install --working-directory $(pwd)
gitlab-runner start
I specify
--working-directoryhere that I can run gitlab-runner by current user and use it home directory as the workspace. And I just ingore following warning message cause I don’t want to run it as root.WARNING: Running in user-mode. WARNING: Use sudo for system-mode: WARNING: $ sudo gitlab-runner...And you can get more sub-command by:
gitlab-runner --help -
For more detail, you can checkout the official document
Til next time,
abawchen
at 15:27
